
When Blurry’s Better
by Roy Winkelman
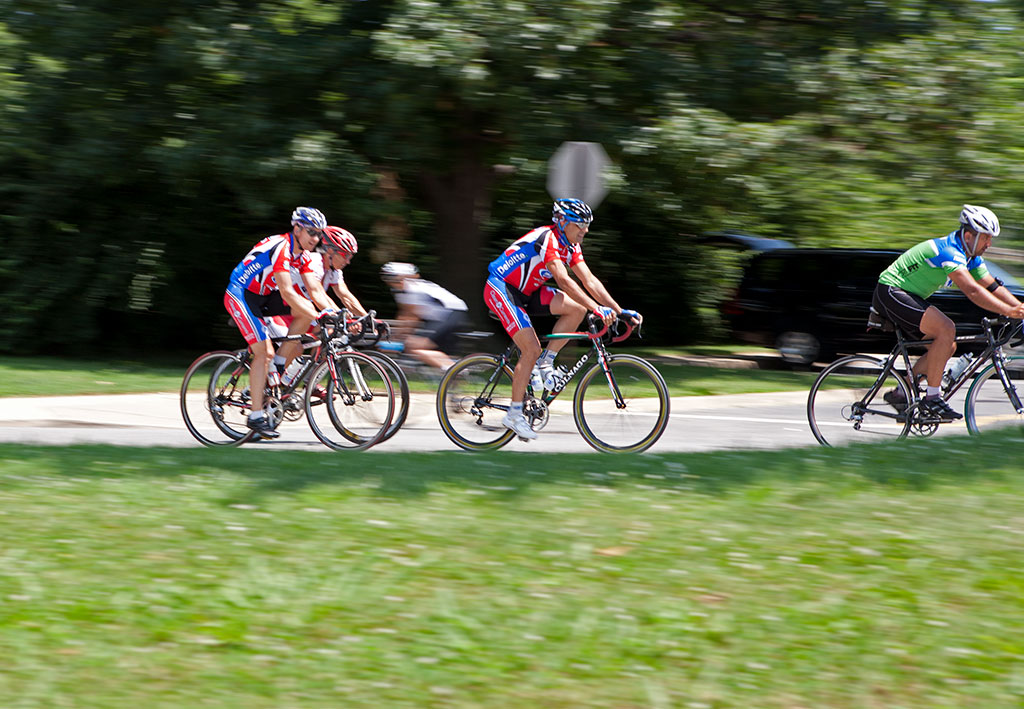
Both of the photos for this month show movement. Give your students a few moments to list what is the same and what is different about the two photos. After they have shared their ideas, ask which part of each photo is in focus and which part is blurred. Also ask which thing in each photo is moving and how they could tell. Asking them to explain why the ground is blurred and the cyclist in the background is extremely blurred may help.
It might take awhile for students to realize that in the first photo the moving object is blurred because the camera was standing still, but in the second photo the moving cyclists are sharp because the photographer panned his camera to match the direction and speed of the riders.

Many, many years ago when I was learning photography it was hard to master panning the camera to capture movement. One had to take the photos, make notations about settings, then go into the darkroom to develop the film and print the photos. Mistakes were costly in terms of time and materials. Nowadays, students can practice capturing action digitally and see the results immediately so they can make corrections to their technique. Encourage them to experiment with different ways of capturing movement in their photos.