History in 3D: Using Stereoviews as Primary Sources in Your Classroom
by Roy Winkelman
A few months ago, I shared a post about Using Primary Sources from FCIT in the classroom. One section was about analyzing photographs and prints. As teachers, we know that it is sometimes (well, often) difficult to get students to look at an old, still photo for more than a few seconds. In their fast-paced world of digital media, an old black-and-white photograph isn’t particularly engaging. One solution to this problem, surprisingly, is to employ a late-19th century technology and introduce your students to stereoscopic photography. When I’ve introduced fourth-graders to historic stereoviews, they have become so engaged that It was difficult to get them to leave the classroom for recess.
So, How Does It Work?
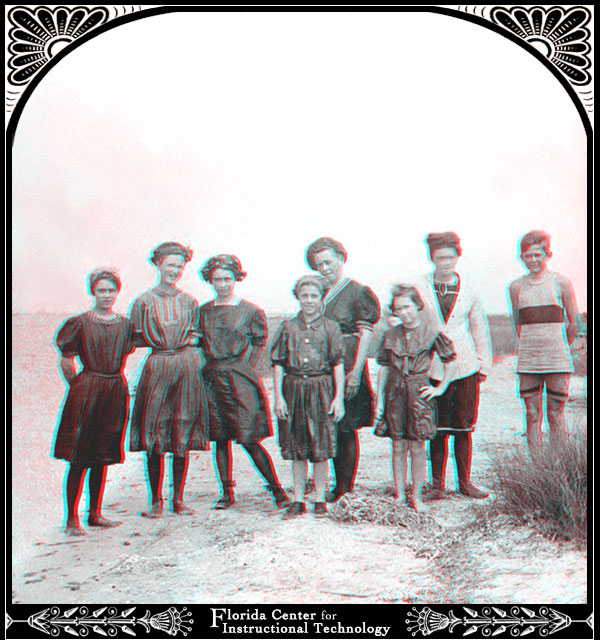
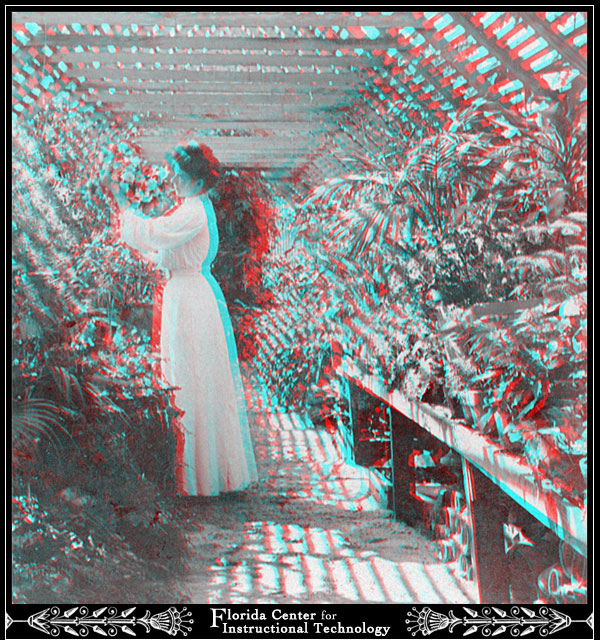
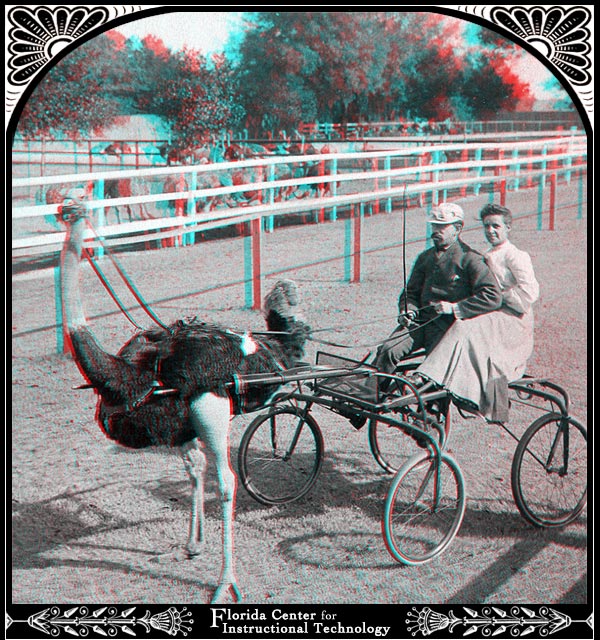
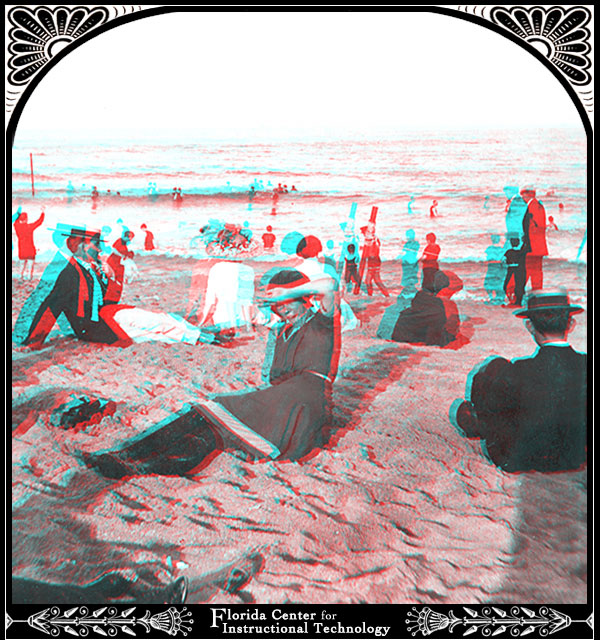
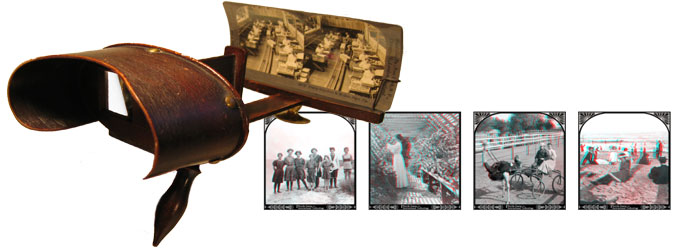
Stereoviews are pairs of photographs taken slightly apart just as our two eyes are slightly apart. When the left photo is viewed by the left eye and the right photo is viewed by the right eye, we experience the same perception of depth as if we were actually on site. A century ago, people viewed the pairs of photos in special viewers, but now the pairs of photos are usually processed in two different colors so they can be overlapped and then viewed with glasses that have colored lenses that cancel out one image, leaving only the correct image for each eye. The result is a perception of depth in the photograph.

A typical stereoscopic photograph on left and an antique viewer on right.
You’ll need a classroom set of 3D viewing glasses. FCIT has distributed thousands of classroom sets at conferences, but we are no longer funded to do so. However, many Florida schools still have sets of our “Exploring Florida” 3D glasses floating around. You should also check with your science department. Much of NASA’s Mars photography was produced in 3D and science departments acquired classroom sets of glasses to view the images.
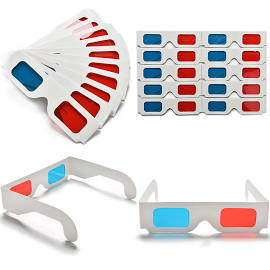
If those sources fail, you can find cardboard-framed glasses on the Web at reasonable prices. A quick search for “red cyan 3D glasses” should yield results ranging from 10¢ to 25¢ apiece. Longer-lasting plastic-framed glasses can be found at about $1 each. With care, even the inexpensive cardboard glasses can last for many years. I’ve had teachers tell me that they carefully keep their sets of glasses in cardboard tubes and that the ones we distributed ten years ago are still serviceable.
Analyzing Photographs
Teachers should review the Guide for Analyzing Photographs and Prints from the Library of Congress. Students can use either the downloadable PDF or they can complete the online form. You’ll find that students are willing to spend much more time interacting with a stereoview than with a flat photograph and that their observations and reflections will be much richer.
Finding Stereoviews to Analyze
Our Exploring Florida website offers over a thousand stereoviews in eight different categories. You may find it best to start with items from the “Florida Way of Life” section. Students will be amazed at how much life has changed in the past 100 to 150 years.
Sample images from the “Florida Way of Life” section of Exploring Florida.
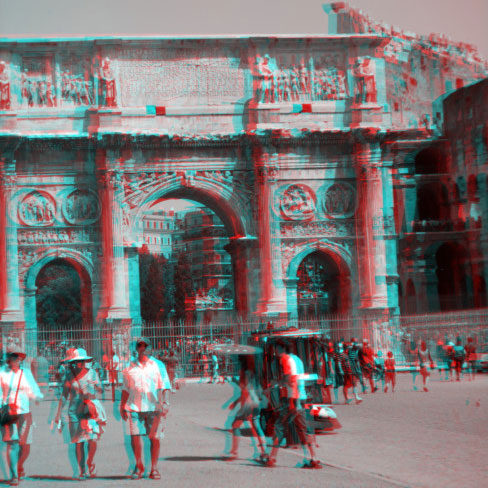
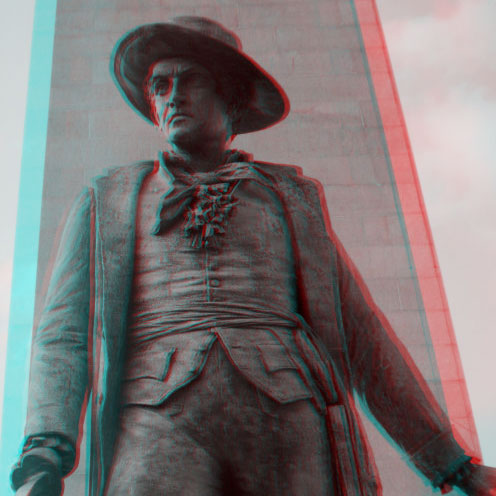
You’ll also find about a hundred more recent stereoviews taken by FCIT using a search for “stereo” pictures on our ClipPix ETC website. Most of those stereoviews are from Washington, D.C., Rome, and the Old Spanish Monastery in North Miami Beach.
Sample images from the ClipPix ETC website.
A Bonus Project
Now that you have a classroom set of glasses and know where you can find stereoview collections, you might want to consider giving your students the opportunity to create a 3D movie. Students can pick a theme, collect 10 to 20 stereoviews around that theme, and then assemble them in a movie-making application with a voice-over explaining their observations and analysis. Using a “Ken Burns” effect to pan through the images adds movement. When the movies are completed, they can be projected in the classroom with their classmates all wearing 3D glasses. Popcorn optional.


